


The thought of making homemade bread can be intimidating, but I’m here to show you it’s not! With a Dutch oven, you can make bread in no time (four hours, to be exact). But better yet, my Dutch Oven Bread is a no-knead recipe – that means, exceptionally easy and exceptionally delicious!

There’s nothing quite like homemade bread. From the way it warms up a home with its rustic aroma to a perfectly golden crust ready to be sliced into, baking bread from scratch has got to be one of life’s simplest joys.
I love making bread even more when I get to use a Dutch oven. My kitchen is filled with a variety of these utility pots, and I use every single one of them (my favorite brands are Le Creuset, Staub, Fiesta, and Lodge, if you need some recommendations). From braises and stews to this incredible artisan bread recipe, Dutch ovens and I consider each other close friends.
Both ceramic and cast-iron Dutch ovens are designed with thick walls and a tight-fitting lid (perfect for baking voluminous, crusty loaves of bread). Its heavy weight is perfect for retaining heat, so whether you’re sautéing vegetables on the stove top or baking a dish in the oven, investing in a Dutch oven will be worth every penny.
Okay, but back to this Dutch oven bread recipe, which is what you’re no doubt here for! Now, don’t get me wrong, I love myself some sourdough bread, but baking sourdough is a labor of love. This recipe I’m sharing today takes considerably less time to make – it’s a tried and true method backed by years of experience, but it’s surprisingly simple and requires no kneading! So if you’re new to baking, this is the easy bread recipe you’ll want to start with to ease into the process.
No one needs an excuse to eat bread, but consider serving your homemade loaf as an appetizer with a dipping oil, cooked up as grilled cheese sandwiches, or as a side dish for a hearty turkey lentil soup.
In short, Dutch oven bread is the easiest technique to bake bread. I’m so excited to guide you through the journey!
More Dutch oven recipes, check out my Guiness Root Veggie Pot Roast and my Seared Ahi Tuna.
Jump to:
- Beyond the intoxicating smell of fresh, warm bread, the reasons to love this no-knead Dutch oven bread recipe are endless…
- 🥂Make it A Rosy Moment
- Important Ingredients
- Full Recipe Below
- Step by Step Instructions
- Top Tip
- Tips for the Perfect Dutch Oven Bread
- Recipe Variations
- 💡Recipe FAQ
- Related Recipes
- 📖 Recipe
Beyond the intoxicating smell of fresh, warm bread, the reasons to love this no-knead Dutch oven bread recipe are endless…
- Easy Method, Proven Technique: Seriously, making bread in Dutch ovens is a fool-proof way to make an artisan loaf right in the comfort of your own kitchen. My method is the last thing from intimidating, with easy prep that ensures you get the perfect golden brown bread every single time.
- No-Kneading Required! To make the process even less burdensome, this is a no-knead bread recipe that doesn’t call for a standing mixer, either. You don’t have to manually knead the bread dough, which can be laborious, to say the least.
- Relatively Quick and Fast: Typically, baking bread is not for the faint of heart, but my Dutch oven bread recipes are efficient – get homemade bread in only four hours, from start to finish.
🥂Make it A Rosy Moment
Enjoying warm bread is considered a rosy moment in itself! But here are some other ways that you can use this recipe to create amazing memories for the family.
- Cook with the kids! There is no easier recipe to get kids involved with in the kitchen than a one-bowl recipe! It's so fun for them to watch the dough start as a few ingredients, mix together, rise up, and bake to perfection!
- Date Night Side Dish. Making a cozy dinner at home? Slice this bread and serve it with a mix of olive oil and balsamic vinegar for the perfect side dish for your date night in.
- Serve with homemade bread dipping oil
- Goes well with a salmon lemon pasta or easy flank steak.
- Grilled Summer Appetizer. Have you ever grilled up sourdough bread? Slices of crusty bread with those yummy grill marks are something I dream about!
- Drizzle the bread with olive oil and grill for 2-3 minutes then top with chunks of burrata and fresh basil or marinated mozzarella.
- Serve with a crisp white wine!
Important Ingredients
When it comes to bread, simplicity is key. All we need are four basic pantry ingredients for this artisan bread recipe, Dutch oven edition.
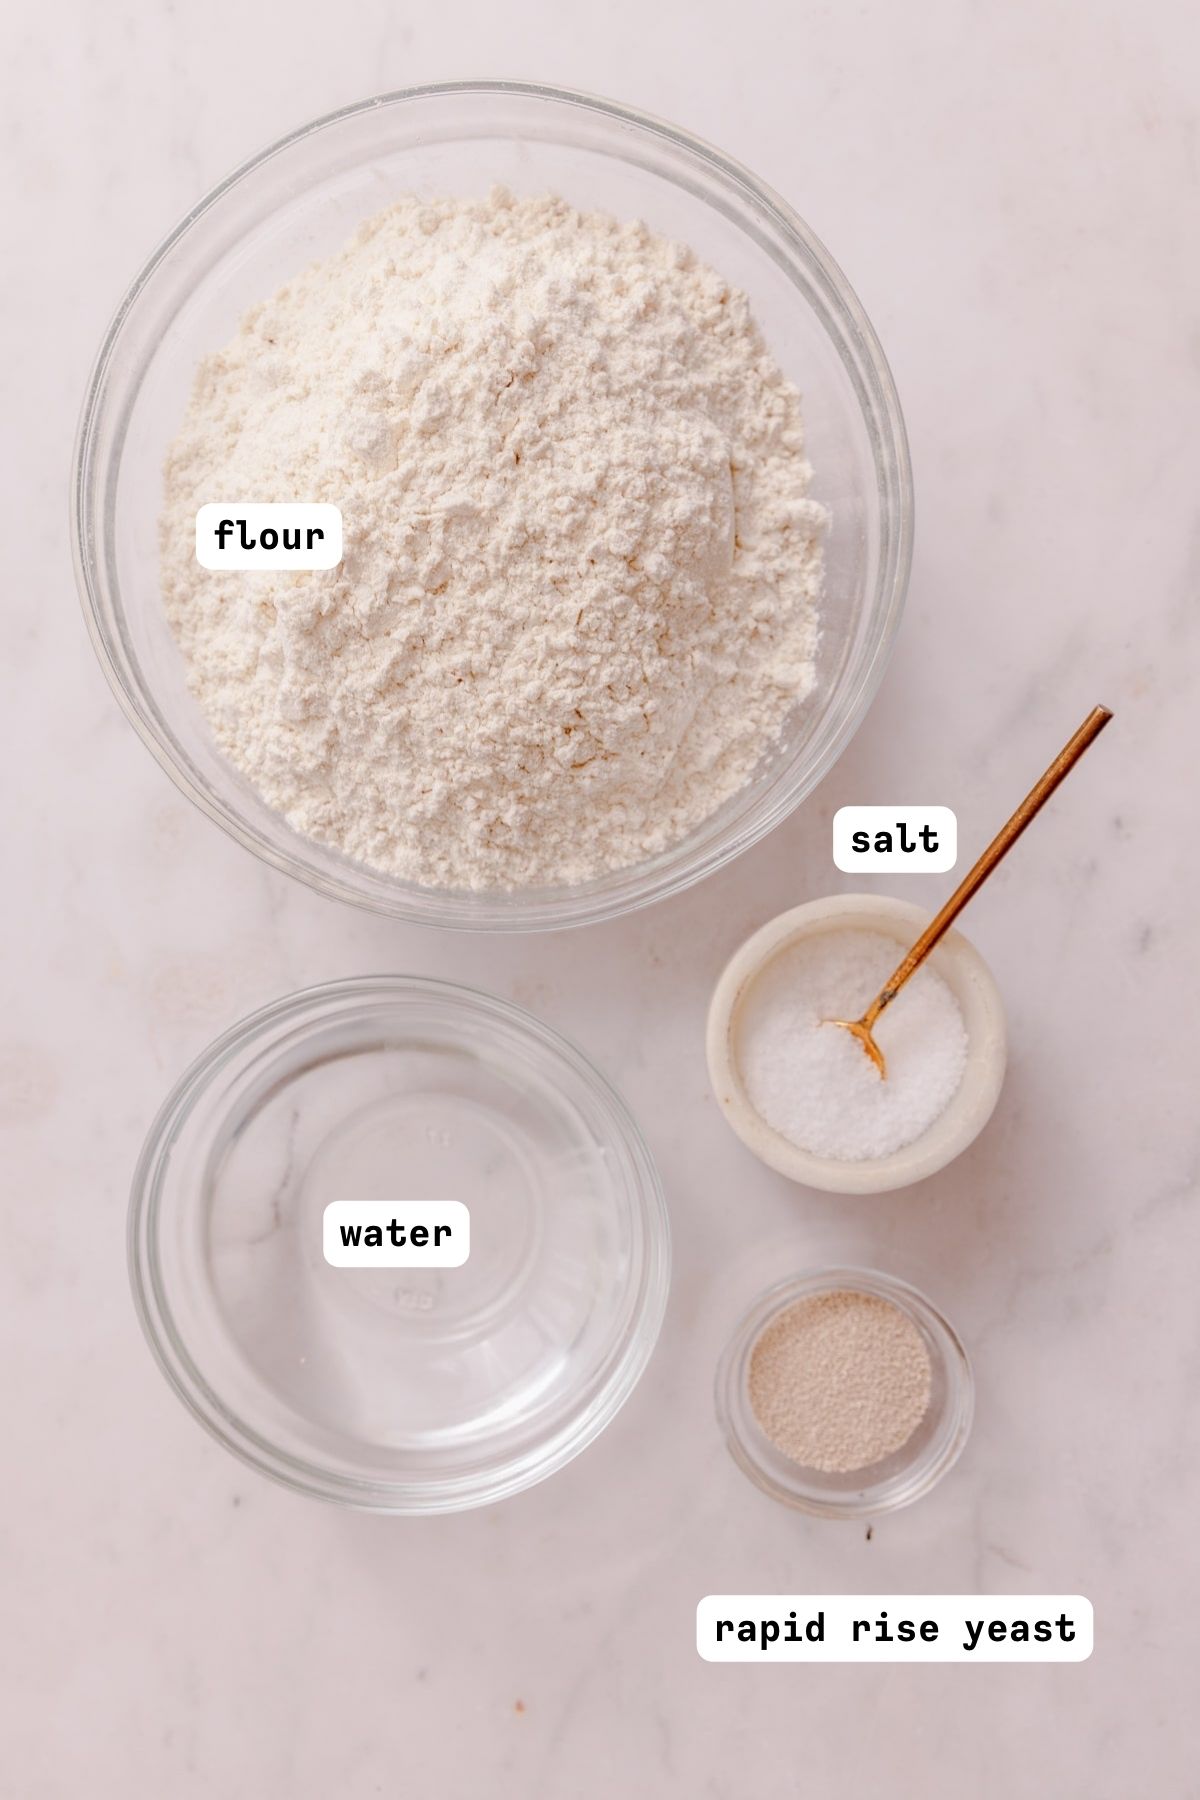
- All-Purpose Flour - Flour forms the structure, elasticity, and chew of bread, so it’s more than essential in a recipe. My preferred flour is all-purpose, but bread flour works just as well.
- Yeast - This is a leavening agent that causes the bread to rise by producing carbon dioxide. Trapped inside the dough, it creates bubbles that expand to form a fluffy, chewy texture. For this recipe, I'm using fast-rising yeast because we won’t be leaving the dough out overnight to rise. You could definitely use active dry yeast, though.
- Salt - Salt works in tandem with yeast, ensuring the dough doesn’t overproof and lose its structure and volume. It also adds flavor and aids in browning the top of the loaf. Kosher salt or sea salt will work.
- Water - Warm water activates the yeast. Make sure it’s warmed up to 100-110 degrees, but no hotter so we don't kill the yeast!
Swaps and Substitutions
We’re working with such simple ingredients for this easy bread recipe that I don’t suggest going overboard with substitutes, unless you’re experimenting with the flour.
- Combine flours: For a denser loaf and crumb, swap in whole wheat flour for half of the all-purpose flour.
- Gluten-free bread: In full transparency, I haven’t made this loaf using a gluten-free flour substitute, so I cannot guarantee the outcome. However, we’re all about experimenting here, so I encourage you to give it a shot! Bob’s Red Mill 1:1 Gluten Free Baking Flour is probably your best bet. I would avoid only using almond flour, coconut flour, cassava flour, or oat flour completely – you will not get a good loaf.
Full Recipe Below
Find the full list of ingredients & measurements below!
Step by Step Instructions
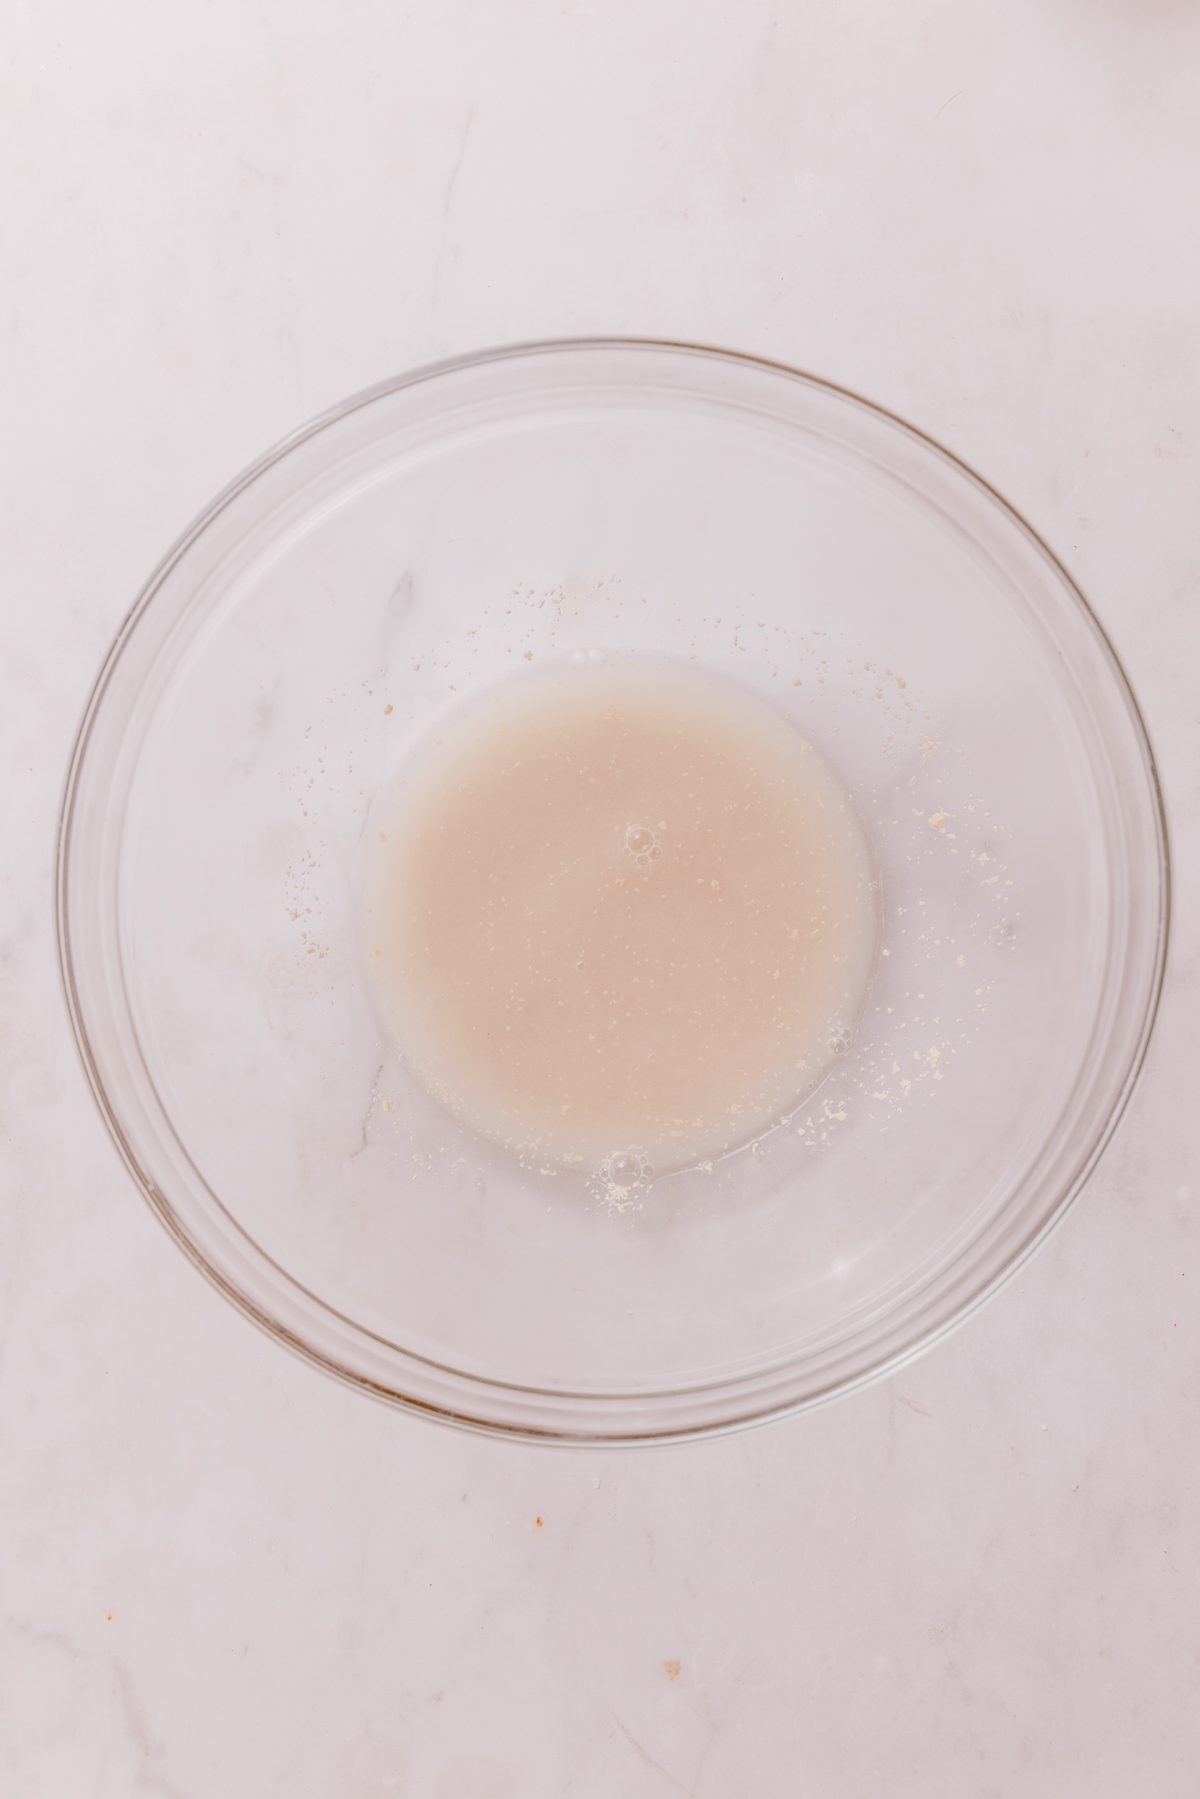
- Step 1: Warm the water in the microwave for 45 seconds to 1 minute, until it is warm to the touch. In a large bowl, whisk together the warm water, salt, and yeast until well combined.
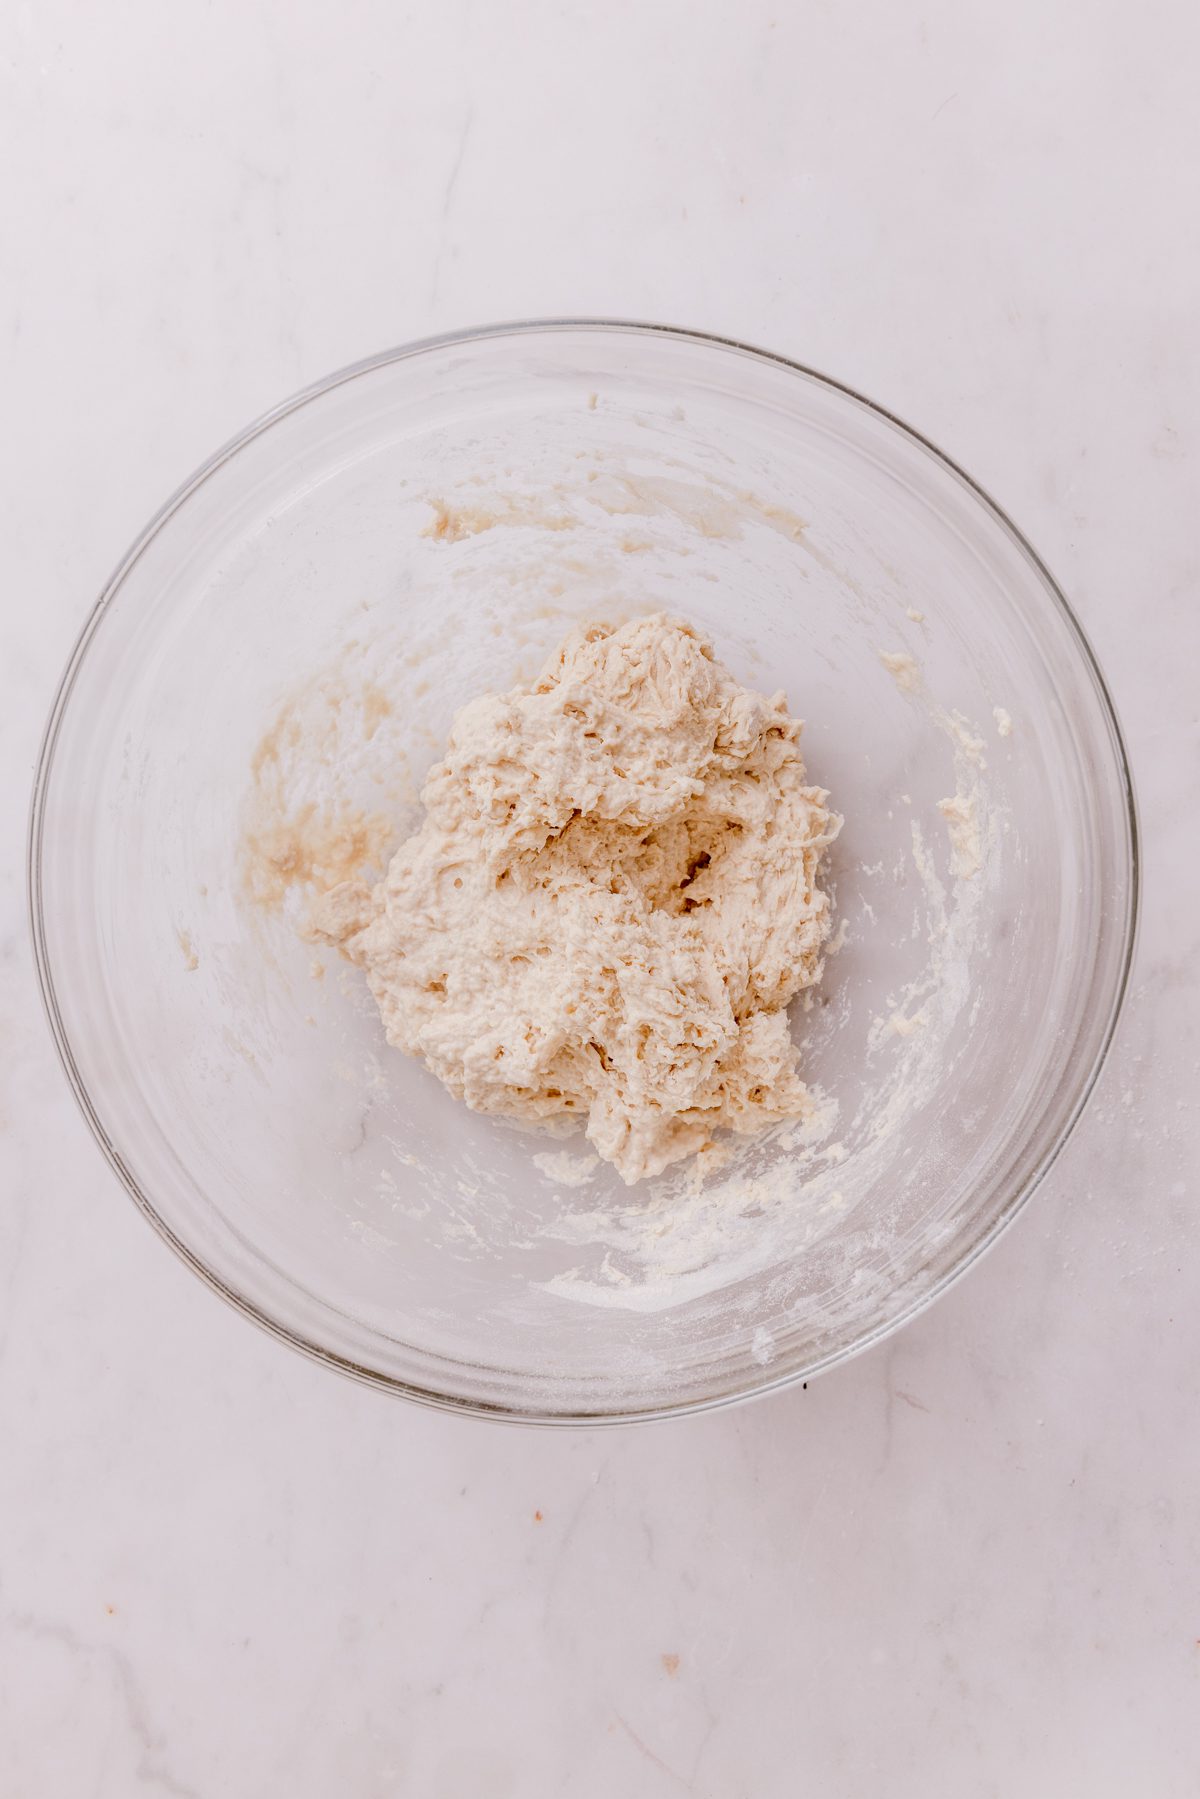
- Step 2: Stir in the flour until a sticky, shaggy, slightly doughy mass has formed. Don't panic if you need to add a splash more water to get this combined. (Up to ½ cup) Different places have different humidity levels.
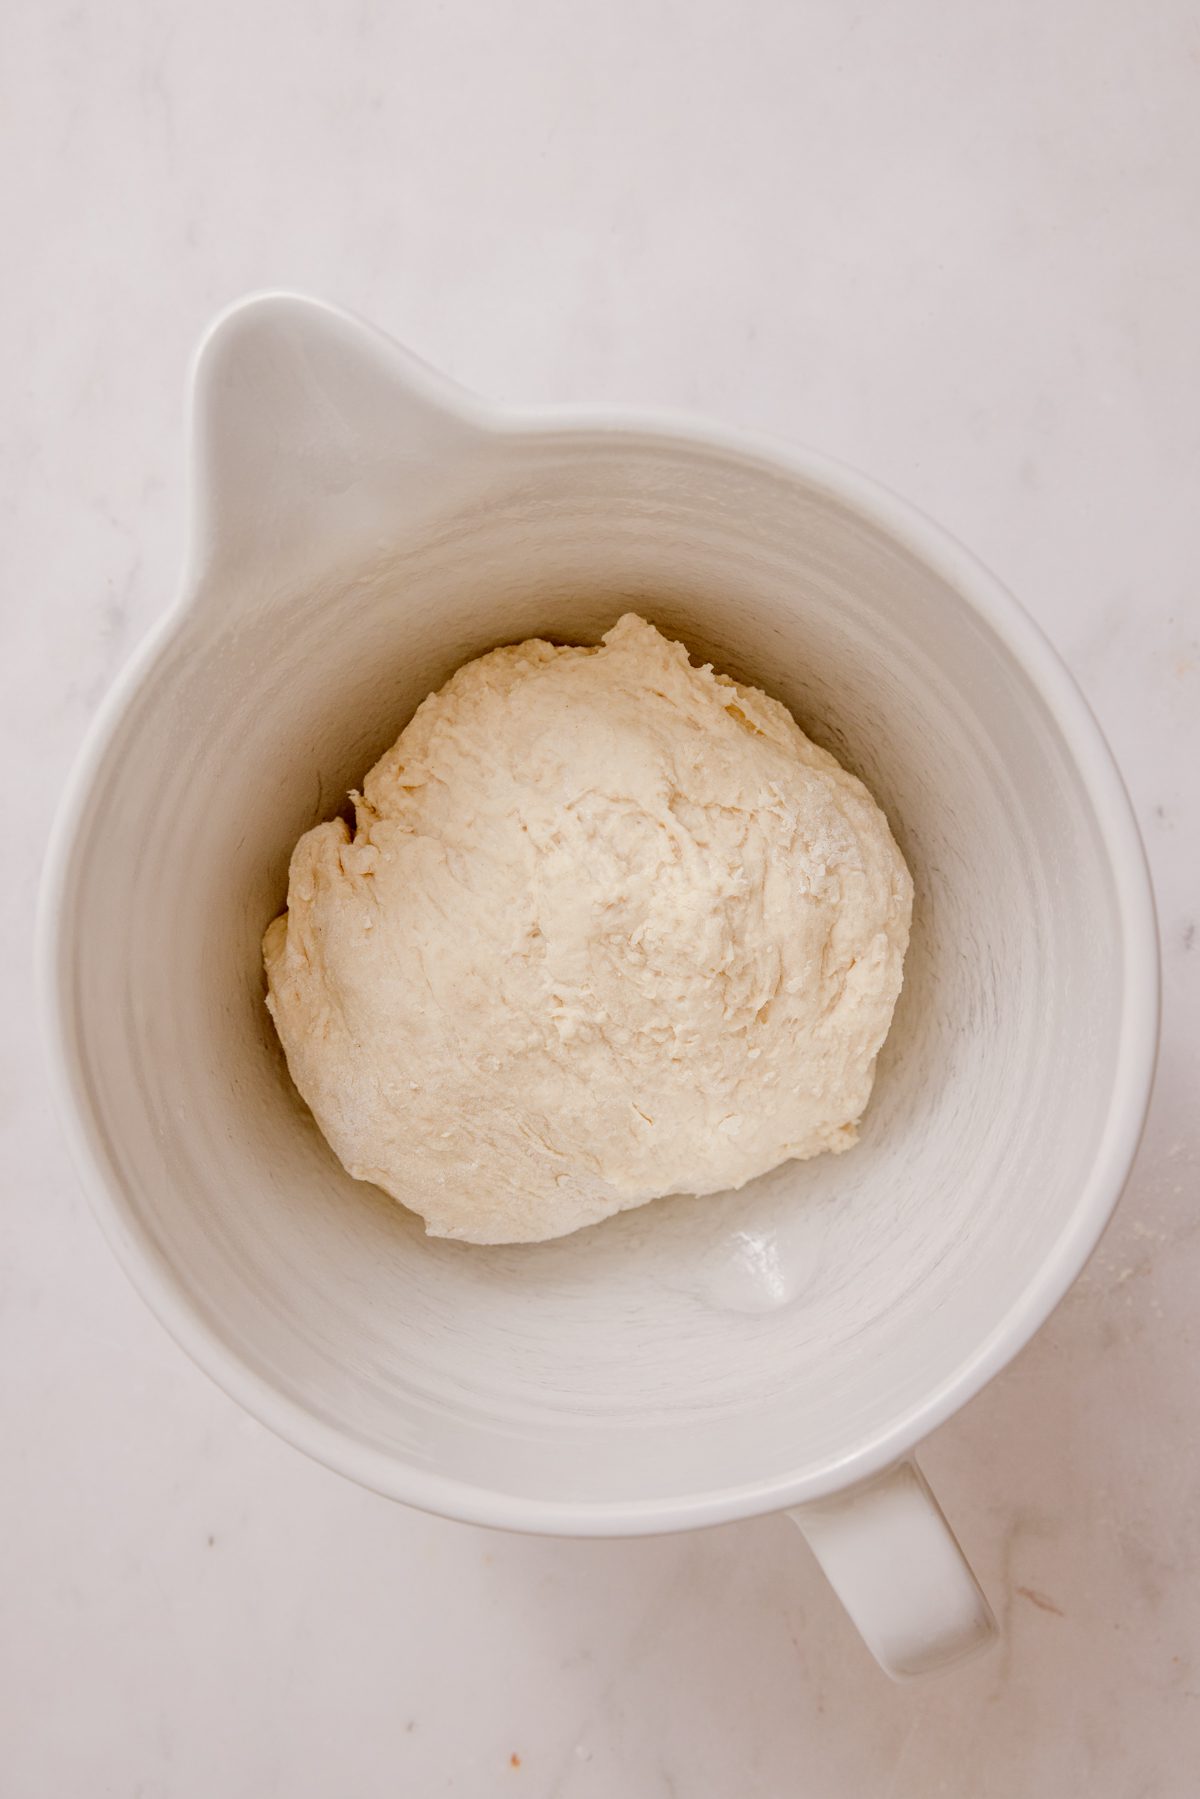
- Step 3: Place in a greased bowl and cover with a clean kitchen towel, and put in a warm area of your kitchen, like your preheating oven.
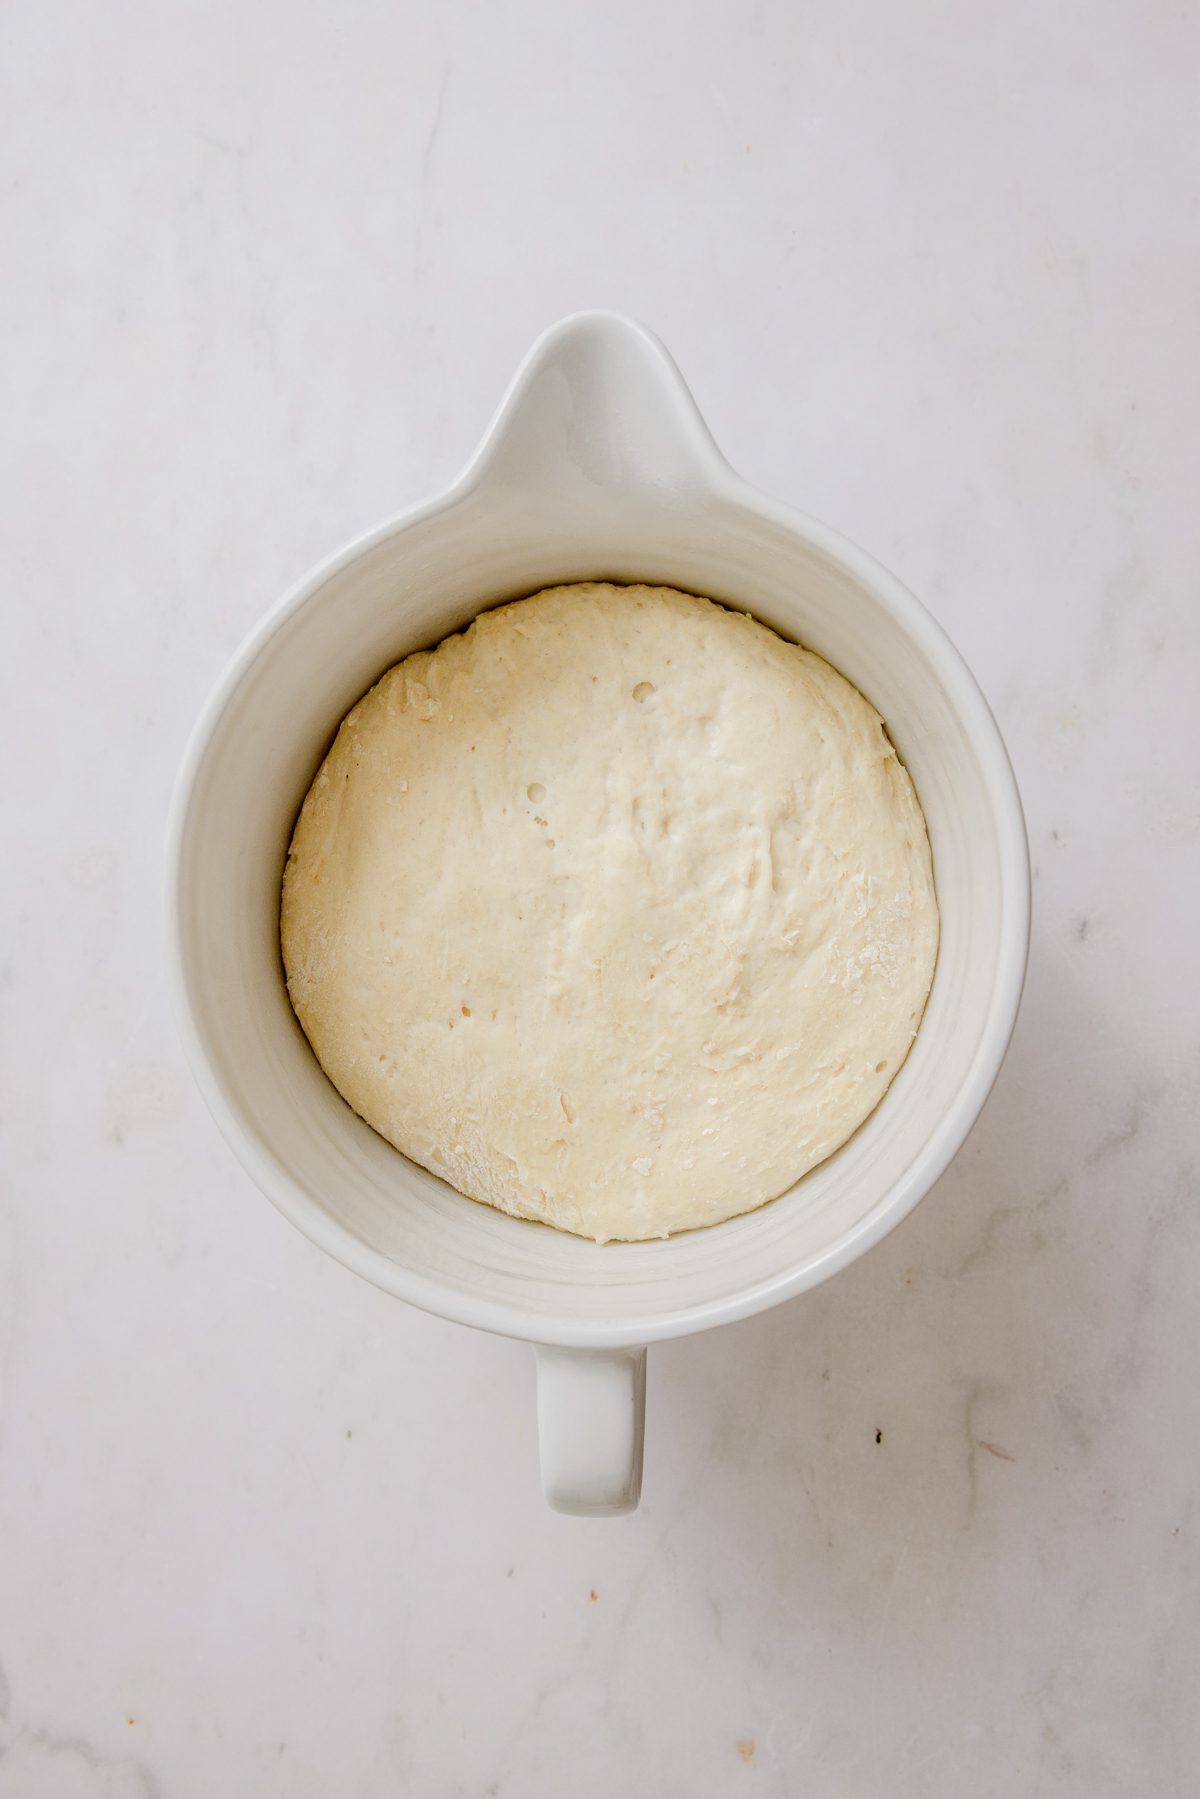
- Step 4: Let the dough rise for about 2 hours or until it's doubled in size.

- Step 5: 45 minutes prior to baking, add the Dutch oven to the oven and preheat it to 450°F.
Flour a piece of parchment paper, and turn the risen dough out onto the parchment using a silicone spatula or scraper, and carefully form the dough into a ball, folding it over itself four times.
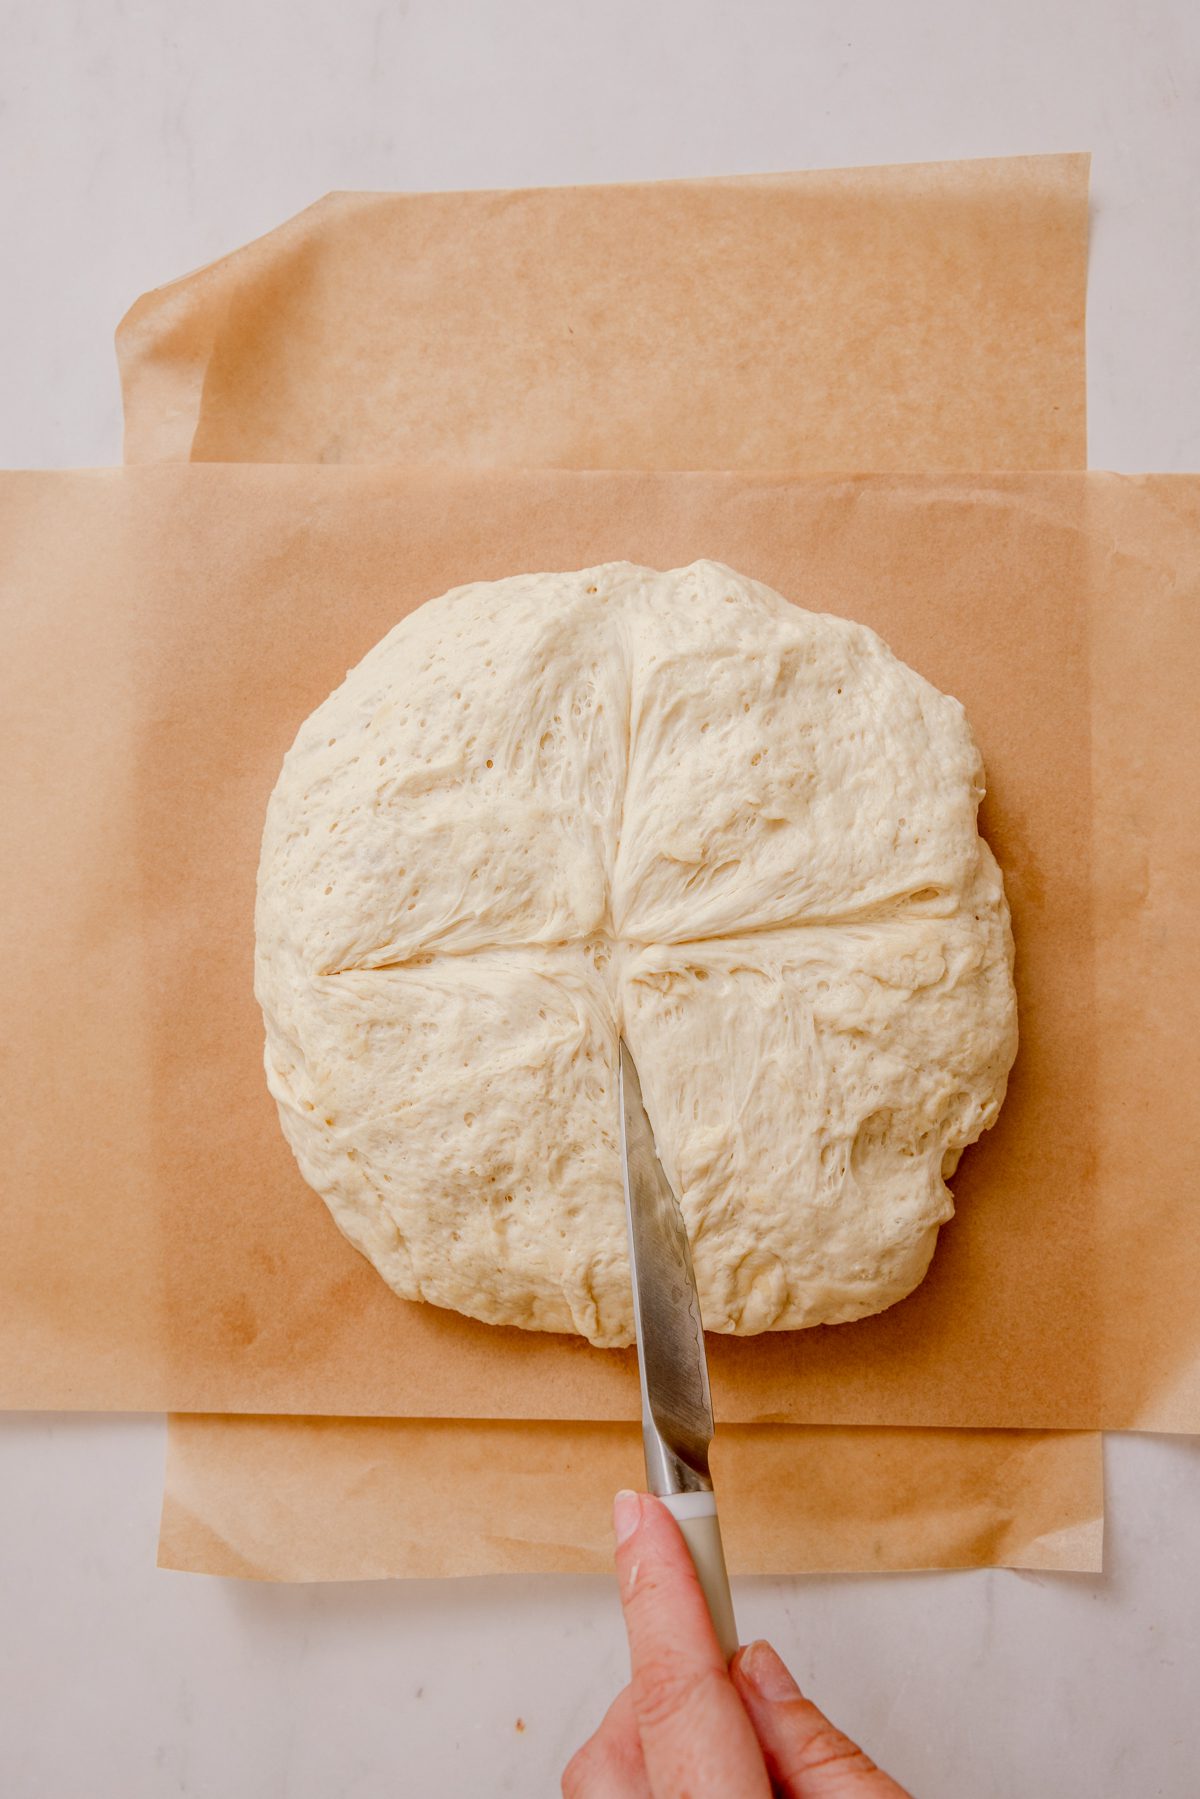
- Step 6: Using a sharp knife, slice a couple of slits in the top of the dough. This will allow steam to escape and give us that nice form on top.
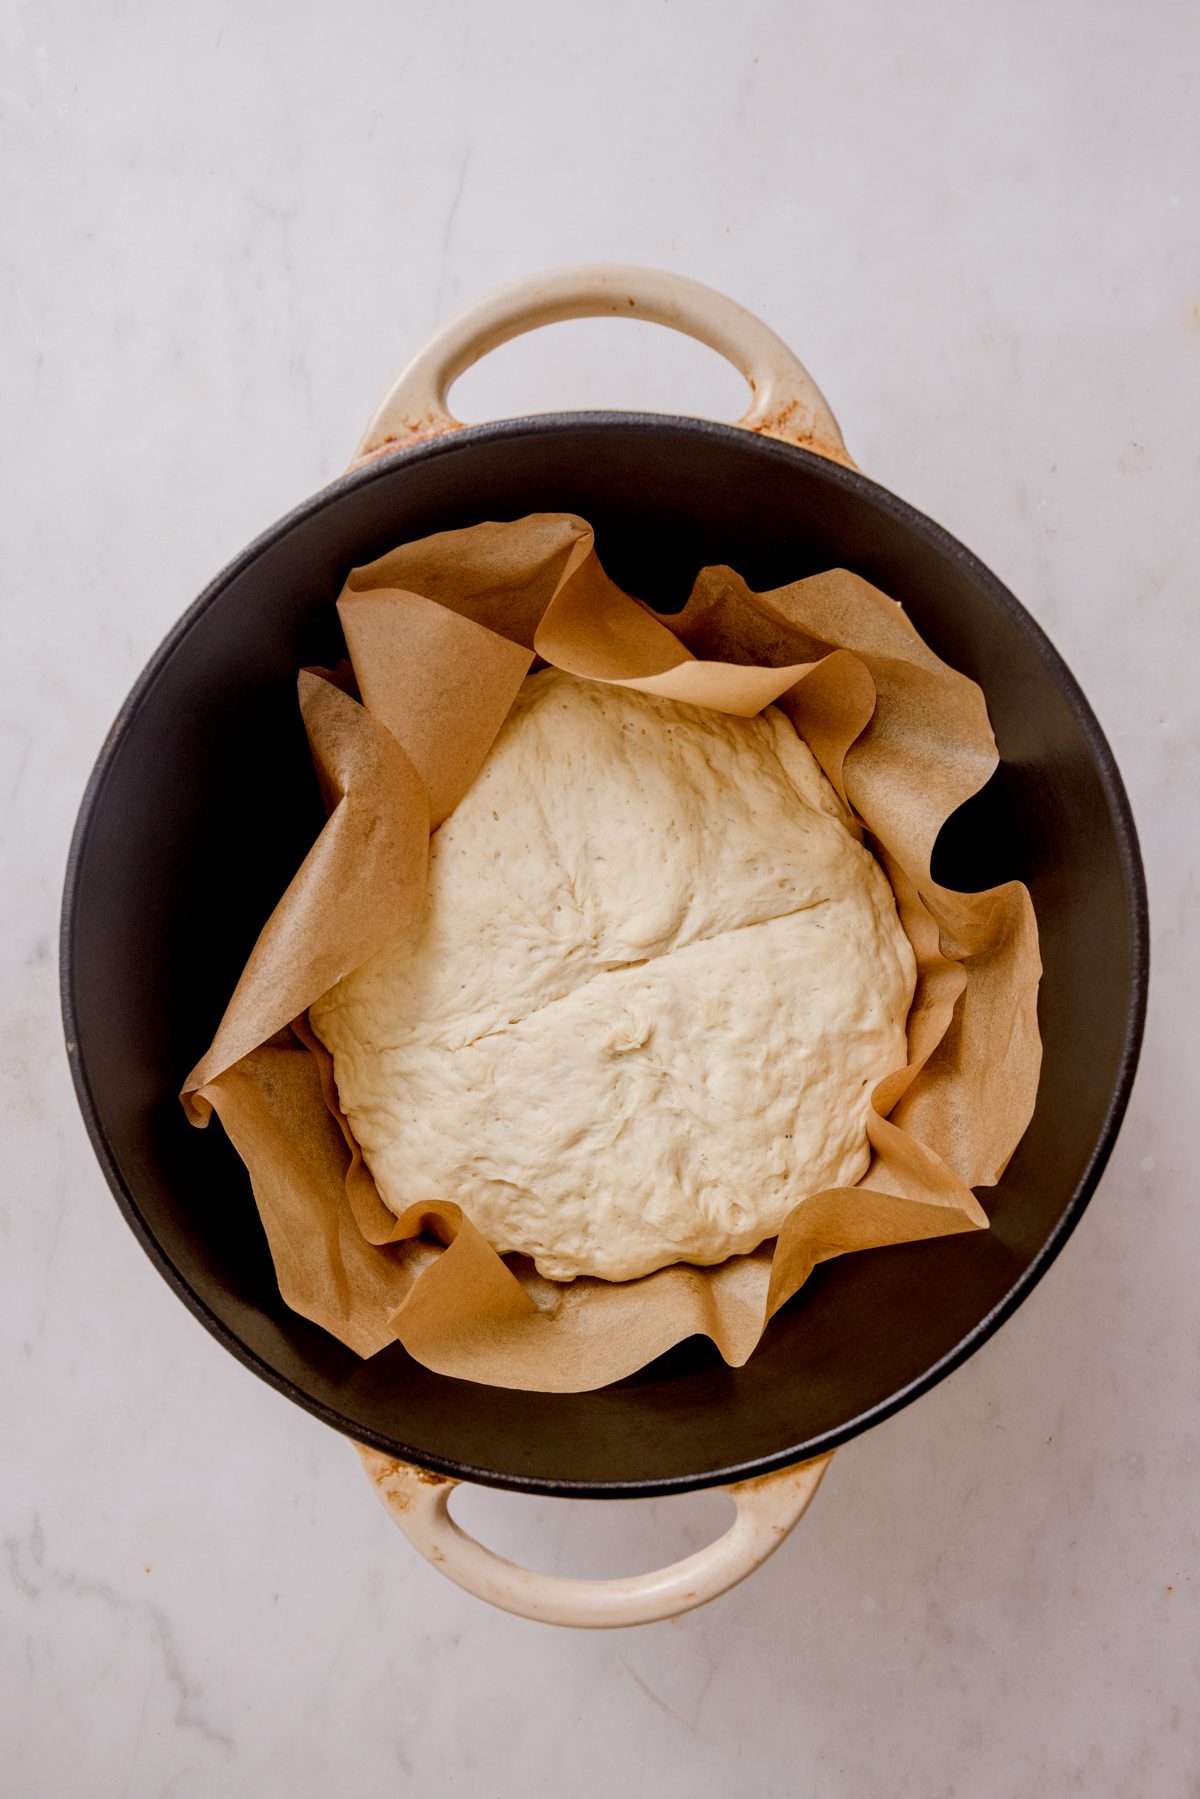
- Step 7: Carefully remove the Dutch oven from the oven rack and pick up all 4 corners of the piece of parchment paper. Carefully place it into the hot Dutch oven with an oven mitt,
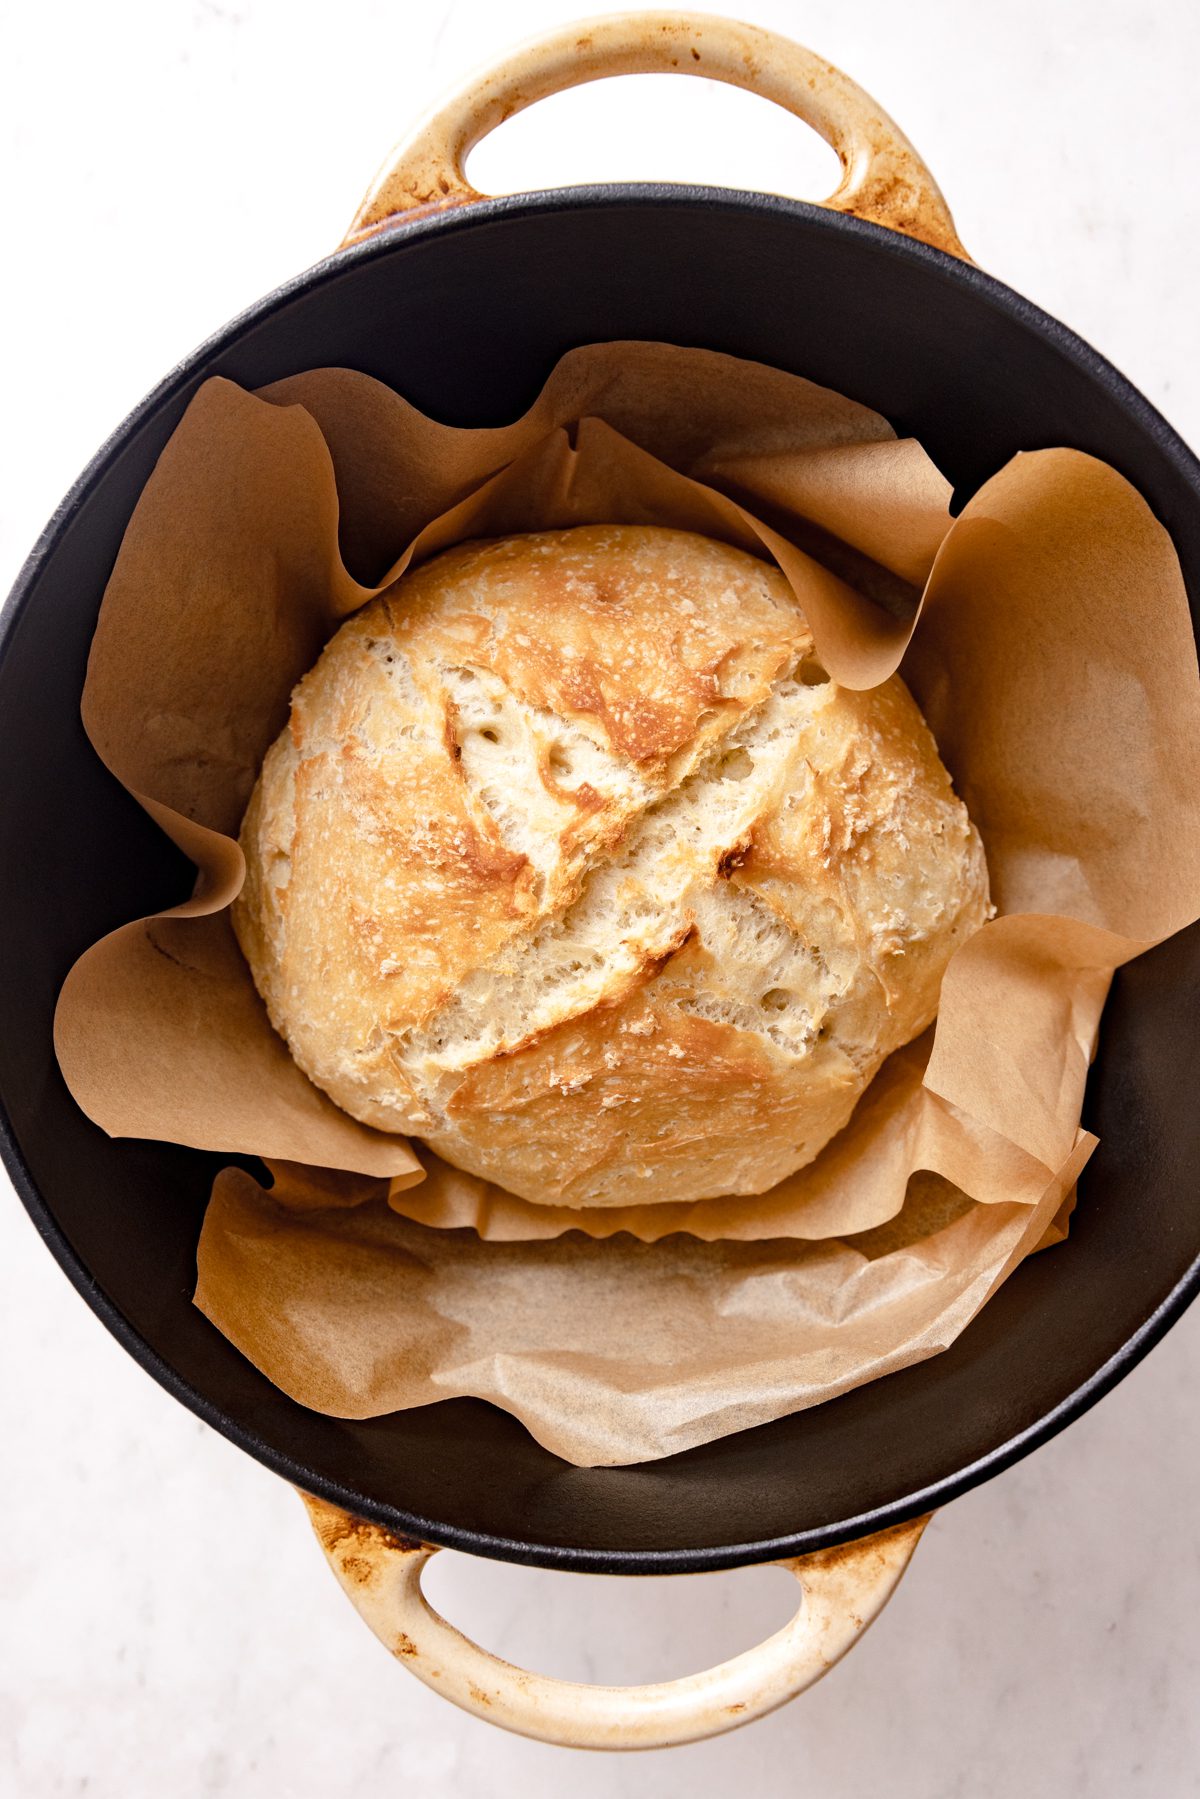
- Step 8: Replace the lid, and place it back in the oven, and bake for 35 minutes. Remove the lid and cook for an additional 10-15 minutes.
Remove the Dutch oven from the oven, carefully remove the parchment and the loaf of bread, and place the bread on a cutting board to cool.
Top Tip
Preheat the Dutch oven. Do not skip this step if you want a voluminous, crispy loaf! It’s essential for creating a hot interior. The intense heat right off the bat stops the loaf from forming a crust too early, which restricts the bread’s rise and expansion.
Tips for the Perfect Dutch Oven Bread
Even with the simplest recipes, baking bread is an art that is perfected through trial and error. I’ve learned a few tips and tricks along the way that will help you in your journey.
- Place the dough in a warm spot in your kitchen to let it rise, either under some lights on the counter or next to the pre-heating oven.
- This might go without saying, but I have to include it because it’s easy to forget: PLEASE use potholders when removing the Dutch oven and lid from the oven. Don’t ask how I know this…
- Remove the Dutch oven lid halfway through the bake to release moisture. This not only helps the loaf “spring” and rise, but it also creates a firm and crispy outer crust.
- The sizes of Dutch ovens vary, but I use a 5-quart Dutch oven for this recipe. You can use a larger one, but avoid extra small ones for obvious reasons.
Recipe Variations
Once you’ve perfected your no-knead bread Dutch oven loaf, start experimenting with add-ins. Let me give you a few no-fuss yet high-impact suggestions!
- Cheese-y bread: Combine your favorite cheese with the dough to make a mouthwatering savory flavor. Cheddar, gruyere, asiago, Fontina, and Parmesan have a great melt that pairs well in baked breads.
- Sun-dried tomatoes or red peppers: Brighten up this recipe with a burst of tang from a handful of sun-dried tomatoes or red peppers.
- Fresh herbs: Rosemary, thyme, oregano, garlic, or dill will make your artisan loaf pop with freshness – and the smell of it baking is to die for! Pair your herbed bread loaf with delicious butter, a glass of wine, and homemade Chicken Cacciatore Soup. I would love to eat this for every meal of the day!
💡Recipe FAQ
The Dutch oven itself! The lidded pot traps the steam and moisture, ensuring a tall, voluminous rise. Halfway through the bake, we remove the lid to get a crispy crust.
Freezer: Once the bread is cooled, simply slice and tightly wrap it in plastic wrap or place it inside a freezer bag before storing it in the freezer. You can also freeze the whole loaf. You want this to be completely cool before freezing, otherwise the steam created in the airtight bag or Tupperware will make it soggy!
Defrost in the microwave or under the broiler for a couple of minutes to get it nice and toasty again.
Refrigerator: If you don't plan to freeze it, you can wrap it tightly in plastic wrap and place it in an airtight container or bag in the fridge, either whole or sliced. This keeps most of the air out, and the bread stays nice and soft.
This keeps well up to 5 days in the fridge, but it may not even last long when your family gets hold of it!
I suggest all-purpose flour to make Dutch oven bread, but bread flour will also work. For a denser loaf, consider using equal parts all-purpose flour and whole wheat flour.
Yes, unless you have a silicone mat for baking bread, the parchment paper helps the bread not stick to the dutch oven and makes for super easy removal of the hot bread when finished!
Related Recipes


If you tried this Dutch Oven Bread Recipe, or any other of the delicious recipes on my website, please leave a 🌟 star rating and let me know how it went in the 📝 comments below. Thanks for visiting!
📖 Recipe
Easy Dutch Oven Bread
Equipment
- 1 dutch oven
Ingredients
- 3 cups all purpose flour
- 1 packet of fast rising yeast
- 1 teaspoon salt
- 1 ½ cups water use up to ½ cup extra to get the correct texture
Instructions
- Warm the water in the microwave for 45 seconds to 1 minute, until it is warm to the touch. In a large bowl, whisk together the warm water, salt, and yeast until well combined.
- In a mixing bowl, add the yeast and water mixture and 3 cups of flour.
- Stir until it is a shaggy, sticky dough has formed. Don't panic if you need to add a splash more water to get this combined. (Up to ½ cup) Different places have different humidity levels. You are looking for a sticky texture,
- Cover with a tea towel and place in a warm area of your kitchen. I like to place it next to my preheating oven.
- Let this rise for about 2 hours or until it's doubled in size.
- 45 minutes prior to baking, add the Dutch oven to the oven and preheat it to 450°F.
- When it's time to bake, lay out a sheet of parchment and sprinkle it with 1 tablespoon of flour. Using a silicone spatula, turn the risen dough out onto the parchment and carefully form it into a ball, folding it over itself in 4 places, like folding a letter. We want to ensure that it is in a round loaf shape.
- Using a knife, slice a couple of slits in the top of the dough. This will allow steam to escape and give us that nice form on top.
- CAREFULLY remove the hot dutch oven from the oven. Pick up all 4 corners of the parchment and CAREFULLY place the parchment and ball of dough into the pot.
- With an oven mitt, replace the Dutch oven lid and place the pot in the oven to bake for 35 minutes.
- After 35 minutes, uncover the pot and bake for an additional 10-15 minutes.
- Remove the Dutch oven, carefully remove the parchment & the loaf of bread, then place on a cutting board to cool. Slice and enjoy!
Notes
- Preheat the Dutch oven. Do not skip this step if you want a voluminous, crispy loaf! It’s essential for creating a hot interior. The intense heat right off the bat stops the loaf from forming a crust too early, which restricts the bread’s rise and expansion.
- Place the dough in a warm spot in your kitchen to let it rise, either under some lights on the counter or next to the pre-heating oven.
- This might go without saying, but I have to include it because it’s easy to forget: PLEASE use potholders when removing the Dutch oven and lid from the oven. Don’t ask how I know this…
- Remove the Dutch oven lid halfway through the bake to release moisture. This not only helps the loaf “spring” and rise, but it also creates a firm and crispy outer crust.
- The sizes of Dutch ovens vary, but I use a 5-quart Dutch oven for this recipe. You can use a larger one, but avoid extra small ones for obvious reasons.


Phyllis Sheehan says
Sooo tasty
Phyllis Sheehan says
This was easy to make and was delicious
Maria says
What size dutch over do you use??
Sara Ayesh says
I use a 4.5 or 5 quart dutch oven!
Allie Ekeler says
I have made this recipe using my Dutch oven so many times this summer! So simple and easy to follow. Nothing like fresh baked bread!